If you’re learning how to test a gemstone at home, the four most reliable methods are: a careful scratch test to check hardness, a water/density comparison, a temperature (cool-touch) test, and a visual inspection with a loupe for bubbles or inclusions. None of these require lab equipment, and together they catch the majority of obvious fakes — dyed glass, resin, and plastic imitations — though none of them can replace professional testing for a genuinely valuable stone.
This guide walks through each test step-by-step, the science behind why they work, the myths that lead people to trust unreliable checks, and exactly when it’s worth skipping DIY methods altogether in favor of a professional appraisal.
The 4 Reliable Ways to Test a Gemstone at Home
- Scratch test — checks relative hardness using the Mohs scale
- Water/density test — genuine stones are typically denser than glass or plastic imitations
- Temperature test — real mineral stays cool to the touch longer than glass or plastic
- Visual inspection (loupe/magnifier) — checks for bubbles, inclusions, and color distribution
Each test on its own can occasionally mislead you. Run at least two or three together, and you’ll catch the overwhelming majority of common fakes without any specialized equipment.
Why People Test Gemstones at Home
The reasons are almost always practical, not spiritual — this is a factual verification process, not a belief-based one. Common situations include:
- Uncertainty about a recent purchase, especially from an online marketplace or an unfamiliar seller
- Inherited stones or jewelry with no accompanying documentation or receipt
- Suspicion of a fake, often triggered by a price that seems too good to be true or a stone that looks unusually “perfect” (the red flags are covered in how to tell if a crystal is real)
None of this requires any assumptions about a stone’s energy or metaphysical properties — it’s simply about confirming what material you actually have.
The Science Behind Each Test
Every one of these tests works because minerals have consistent, measurable physical properties that manufactured imitations don’t fully replicate.
- Hardness (Mohs scale): Each mineral has a known relative hardness — quartz sits at 7, for example, while common glass sits around 5.5. According to GIA’s overview of gem imitations, materials like glass and cubic zirconia are specifically used as simulants because they resemble gemstones visually, but they don’t share the same hardness or crystal structure. A genuine harder stone will scratch a softer imitation; a softer imitation won’t scratch the genuine stone.
- Density (specific gravity): Different materials pack a different amount of mass into the same volume. Glass and plastic are generally less dense than most natural gem minerals, which is why a same-sized fake often feels noticeably lighter in your hand or floats differently in water.
- Thermal conductivity: Minerals conduct heat away from your skin at different rates than glass, resin, or plastic. This is why genuine stones often feel cooler and take longer to warm up — your body heat disperses through the mineral rather than sitting on the surface the way it does with lower-conductivity materials.
- Inclusions and bubbles: Natural gemstones form under heat and pressure over long timescales, which typically produces internal flaws, mineral inclusions, or growth lines. Glass, by contrast, is made by melting and cooling quickly, which traps round air bubbles — a shape that essentially never occurs naturally in a crystallized mineral.
The International Gem Society’s overview of gemstone testing and identification confirms that professional gemologists use exactly this combination of hardness, density, optical, and inclusion-based methods — just with more precise instruments than what’s available at home.
How to Run Each Test (Step-by-Step)
- Check for bubbles and inclusions first, with a loupe or magnifying glass. Hold the stone up to bright light. Perfectly round bubbles are the clearest sign of glass. Natural inclusions look irregular — wispy lines, small internal fractures, or mineral specks — not spherical. (For a stone where inclusions are the whole story, see fake vs natural rose quartz.)
- Do a careful scratch test on an inconspicuous spot. Use a known reference material (a piece of glass works for most gemstone comparisons). If your stone scratches the glass and the glass doesn’t scratch it, that supports a harder, potentially genuine mineral. Always test in a hidden spot, and skip this test entirely on anything you aren’t willing to risk marking.
- Compare weight to a known genuine sample of similar size, if you have one. Unusually light stones for their size often indicate glass, resin, or plastic.
- Note the temperature. Hold the stone for a few seconds — genuine mineral typically stays cool longer than glass or plastic, which warm up to skin temperature more quickly.
- Optional: try the water test. Drop the stone gently into a glass of water. Denser genuine stones typically sink faster or sit differently than lighter imitations, though this test is more useful as a supporting clue than a standalone verdict.
Common Myths About Testing Gemstones at Home
- Myth: A simple visual check is always reliable. Visual inspection alone catches obvious fakes but misses more convincing ones — some high-quality synthetics and treated stones share nearly identical chemical and optical properties with genuine material, and only require lab-level instruments (a refractometer or spectroscope) to distinguish confidently.
- Myth: All fakes are obviously “cheap-looking.” This isn’t true. Well-made dyed glass or resin can be color-matched convincingly, and some synthetic stones are chemically and structurally close enough to the genuine mineral that visual inspection won’t reliably catch them at all.
- Myth: The scratch test is always safe to try. It’s a destructive test by definition — it can permanently damage a stone if done carelessly, especially a valuable or already-fractured one. Reserve it for inexpensive or clearly suspect pieces, and skip it on anything you’re not willing to risk marking.
When to Skip DIY Testing and Get a Professional Appraisal
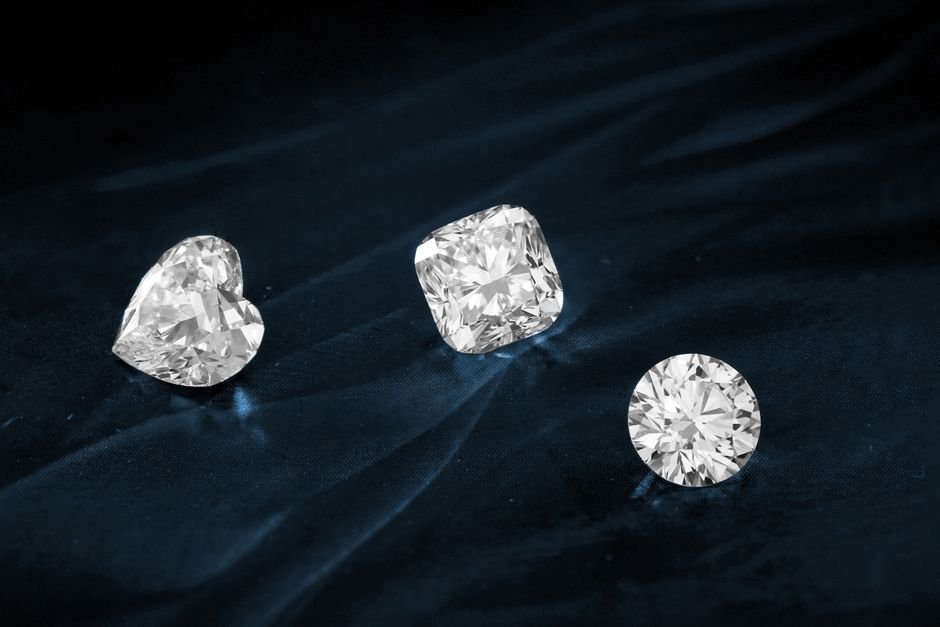
Home testing doesn’t apply, or at least shouldn’t be the final word, when the stone is valuable enough to warrant professional gemological testing instead of DIY methods. If you’re dealing with an inherited heirloom, a purchase above a few hundred dollars, or anything you suspect could be a fine natural gemstone (rather than a common crystal), the safer move is a certified gemological lab report rather than risking a scratch test on something irreplaceable. A lab can measure refractive index, specific gravity, and optical properties precisely, and can detect treatments that home tests simply can’t reveal — heat treatment being the most common example, as covered in is heat-treated citrine worth buying.
FAQs
Do I need special tools to test a gemstone at home?
No specialized lab equipment is required for the basic checks. A jeweler’s loupe or a strong magnifying glass, a piece of glass for the scratch test, a small kitchen scale, and a glass of water cover the four core tests. More advanced tools like a UV light or a hardness pick set can help but aren’t necessary to get useful initial information.
Can I damage my crystal by testing it?
Yes, particularly with the scratch test, which is inherently destructive if done carelessly — it can leave a permanent mark. Always test on an inconspicuous spot, and skip the scratch test entirely on any stone that’s valuable, sentimental, or already showing cracks or internal flaws. The temperature, weight, and visual inspection tests carry essentially no risk of damage.
Is the water test reliable on its own?
Not entirely — it works better as a supporting clue than a standalone answer. Some genuine stones and some fakes have overlapping densities, and the test can be affected by a stone’s exact shape and internal air pockets in porous materials. Combine it with the scratch and visual tests rather than relying on it alone.
What if my stone passes every home test but I’m still unsure?
That’s a reasonable moment to stop DIY testing. Home checks are good at catching obvious glass or plastic imitations, but they can’t reliably distinguish a natural gemstone from a high-quality synthetic with matching chemical properties. A certified gemological lab report is the only way to get real certainty at that point.
Why did my “diamond-hard” stone scratch so easily?
This is a classic sign of a softer imitation being sold under a misleading claim. A genuinely hard stone, true to its claimed identity, should resist scratching from materials softer than it on the Mohs scale. If a stone marketed as unusually hard scratches easily during a careful test, that’s a strong signal it’s a different, softer material than advertised.
Key Takeaways
- The core methods for how to test a gemstone at home are the scratch test, water/density comparison, temperature check, and visual inspection with a loupe — combine at least two or three for real confidence.
- These tests work because minerals have consistent, measurable physical properties (hardness, density, thermal conductivity) that manufactured imitations don’t fully replicate.
- No single home test is foolproof, and some tests (especially scratching) carry real risk of damage — reserve destructive tests for inexpensive or clearly suspect stones.
- For valuable or sentimental stones, a professional gemological appraisal is the safer and more definitive option over any combination of home tests.
Leave a Reply